Thursday, March 19, 2015

What's your Worth? Penny or Nickel


Learning the key concept of pennies and nickels is quite challenging since 99% of my students are only familiar with Vietnamese Dong. However, since it is included in our curriculum, I need to push it through and make it unforgettable  for all of us. 
Terms we used are: penny, nickel, coin, cent, worth, value , exchange and symbol.

First, I asked the children if they know about money and what money is used for and why there are different kinds of money. I showed them my wallet and took different kinds of money from my wallet. I can say that it worked well in getting their excitement and fun about out lesson.

Then, I introduced penny. I have play coins available. We discussed the size, shape, color and marking children notice and wrote it on the board in a form of brain map. It was also explained that a penny can be called 1 cent. A penny is worth 1 cent. We collected each one's pennies and count the total. 
The cent symbol was explained and the children practiced writing on their white boards. Then, the children worked in pairs using their small bags with pennies in it. They counted their pennies and wrote the total on their whiteboards.

For their task, I am using a MATH INTERACTIVE NOTEBOOK . This notebook allows the children to be creative and independent thinkers and writers. I asked them to decide how much pennies they want to save in their piggy banks and write the total value of their pennies. 


Day 2: Introduction of the Nickel

A nickel was given to each child to explore and to look closely for the discussion on shape, size, color and any markings. Nickel can be called 5 cents. A nickel is worth 5 cents. The children were challenged to  put all of their nickels in their groups and estimate how much they have. Then we made a pile of the whole class' nickels and counted by 5's to get the total.

Then I asked "How many pennies will I get if I exchange my nickels for pennies?" It was so amazing to see the students using their thinking brains and counting skills. Then I asked them to draw their answers on the whiteboards.

The children worked in pairs, one was acting as a banker and one as a trader and then after 1o minutes, they switched roles.

For their task, I got this worksheet from  www.classroomfreebiestoo.com. It was a very exciting task for every student as they scoop coins out of their bowls and counting and drawing their coins.

We will soon work on dime and quarter. Can't wait:)


Monday, March 16, 2015

2D Shapes


Learning 2D shapes in Preparation Class is exciting given the fact that they had been exposed to shapes  as young as 2 years old.  This is just some of the things we had exploring 2D shapes here and there.


I googled some samples of ANCHOR CHARTS on 2D Shapes and I found what exactly fits to my class. Thanks to my best friend, GOOGLE:)


After discussing about the attributes (lines, sides, and corners) of each 2D shape, this Anchor Chart stays around the classroom for any big and small group activities. It makes my class more manageable during writing activities. The children  visit the anchor chart for spelling and for reference on the attributes of  the shapes. They don't have to come to me most of their time to ask for spelling or any questions related to their tasks. The anchor chart serves them in any ways.


One of the center activities we had was making their own designs using attribute blocks. It was amazing to see their originality and creativity. They discussed and compared their works which reflect communication skills using mathematical language. Below are the samples of their designs.


Once their designs were done, they were given a recording sheet.  They recorded how many particular shapes they used  in their designs. 

The best things about this activity were, they were able to express their creativity using different shapes and able to record their work. 


Wednesday, January 28, 2015

3D Bird with Fan Wings

I am so excited to share what I found in google one cool afternoon. We have been learning about seasons and this 3D bird with fan wings is perfect to celebrate spring. This craft project can be done in one sitting with 20 kids. It's very easy and equally interesting.


Materials we need:
-Thin colored paper (Art Paper)
-bird template printed on a think paper
-String or pegs
-Scissors
-crayons or felt-tip pens


1.Print out a bird template and if you confident in your drawing skill, you can do it:) The children can color their own birds with their choice of color combination.

2.  Once done with coloring, you or the students can cut it out. Don't forget to cut holes big enough for the pleated paper which will be made next.

3. Pleat the thin colored paper into a fan. This takes a lot of supervision from the teacher to get even pleats or let me say appropriate pleats:) Fold in half.

4.Insert the pleated 'wings' into the cut. and fan out and TADA!!!! you have your beautiful 3D bird with fan wings.

 You can decide to clip it on a
 line using a peg or you can tape a string to the top part of the wings, hang up and enjoy the spring feeling it brings !


Tuesday, January 20, 2015

Craft It!


I really love making crafts. If only I have all the time...I can make as many creative crafts as I can. From my kids' birthday giveaways to any fun event...you can see my simple yet creative creations:)

See  these cute lollies with my son's pictures and printed Bible verses for his Dedication Day.


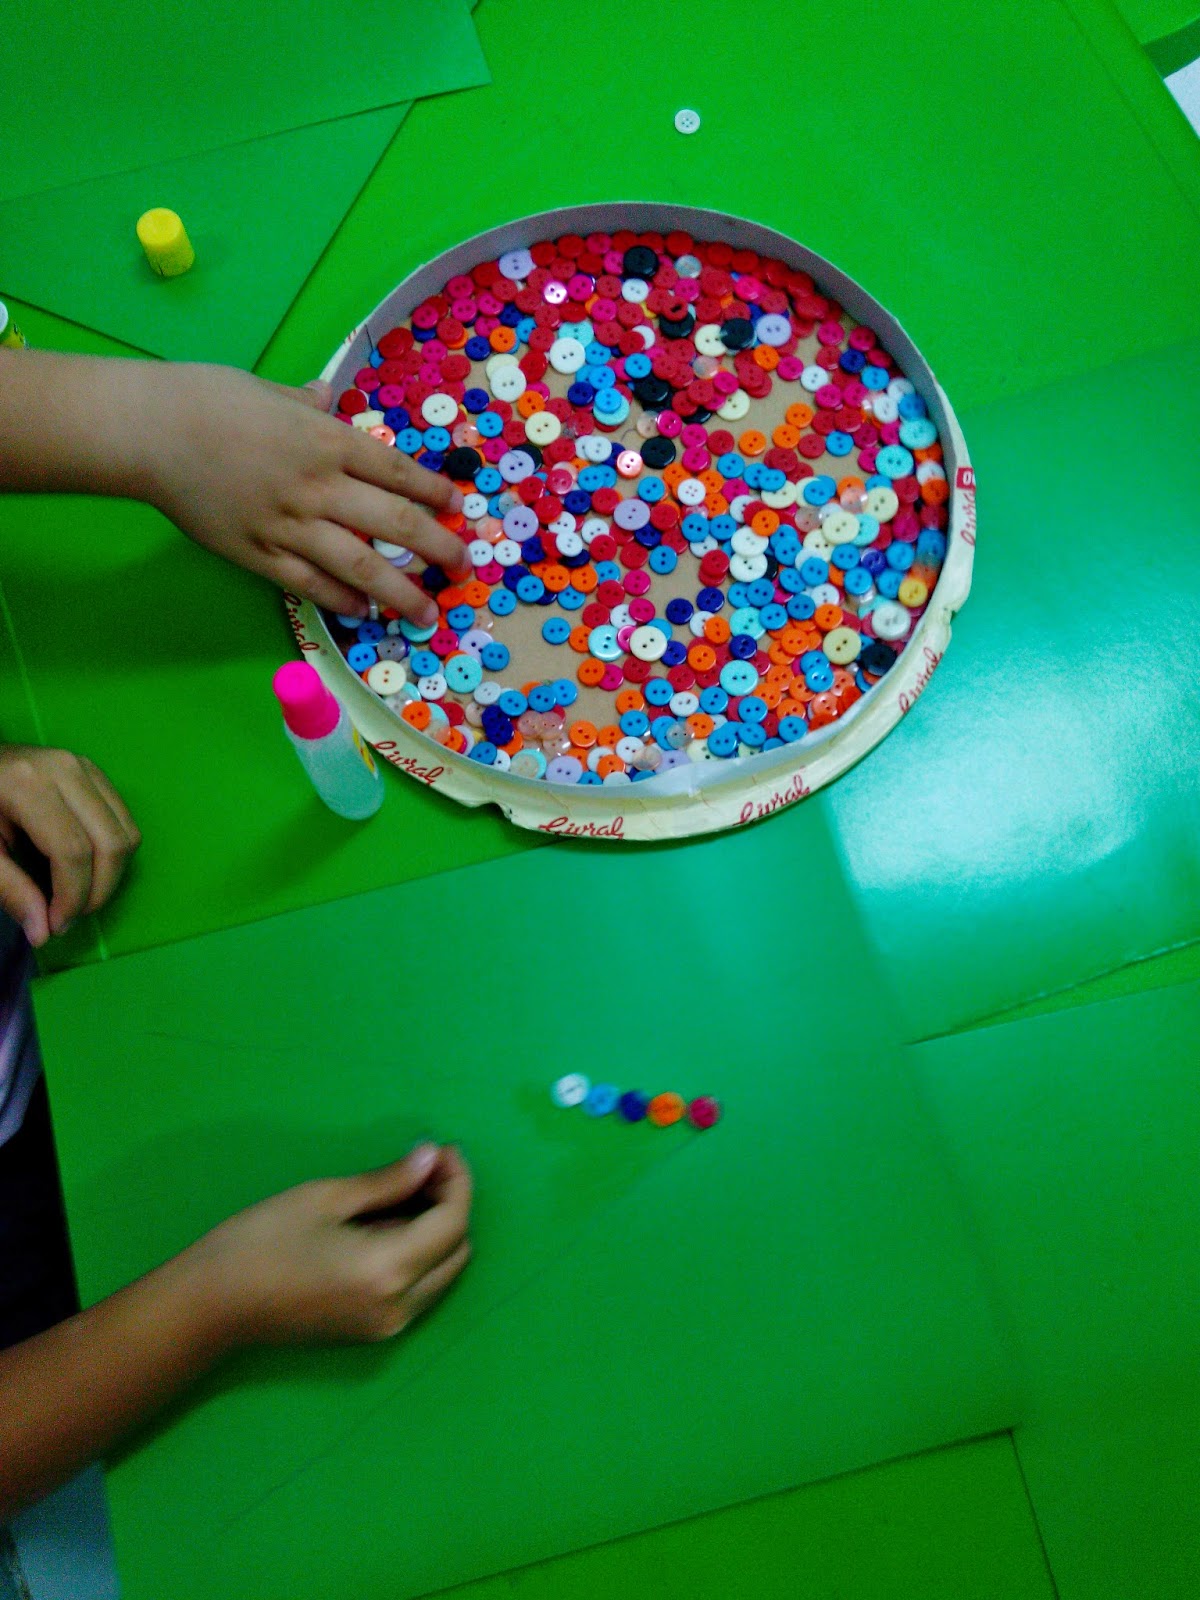
Crafts with buttons can't just be ignored. See our Christmas Tree and Fall Tree using different colored buttons.


Speaking of Fall, here is another Fall-Themed craft. Using a black paper and pastel crayon, see how my students made their own fall leaves.


Put them together and see our beautiful drawing mosaic. The children drew a picture, cut it into small squares and paste each piece accordingly.


What's with the ball of yarn? Design any template you have with colorful yarn.


I had lots of milk cans and didn't know what to do. ..then Halloween came and we had to make our Trick-or-Treat bags. 
Surprise!!!!


               What about folding paper this time? Yes...beautiful flowers from me to you:)


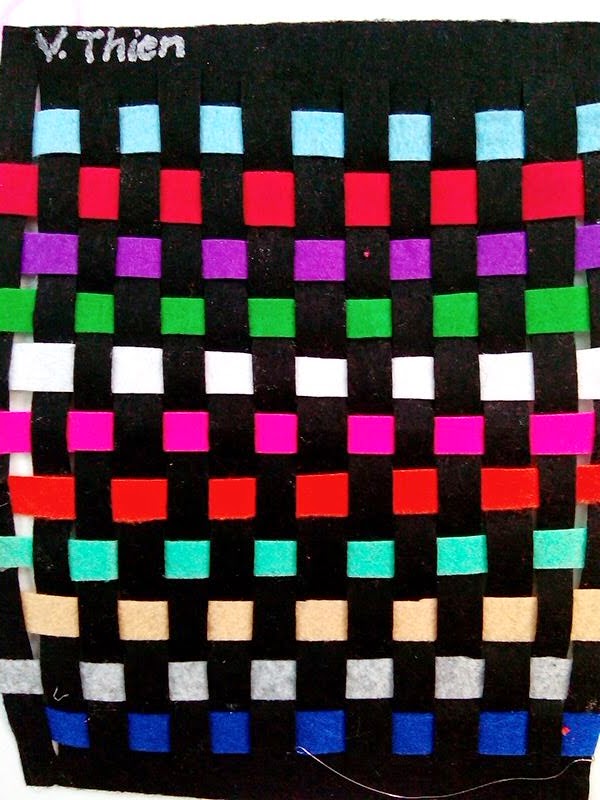
When you're done with paper folding...try weaving. This was a bit challenging for those little young hands yet equally exciting. They also learned to use the patterning skill they learned from one of our Math lessons.